
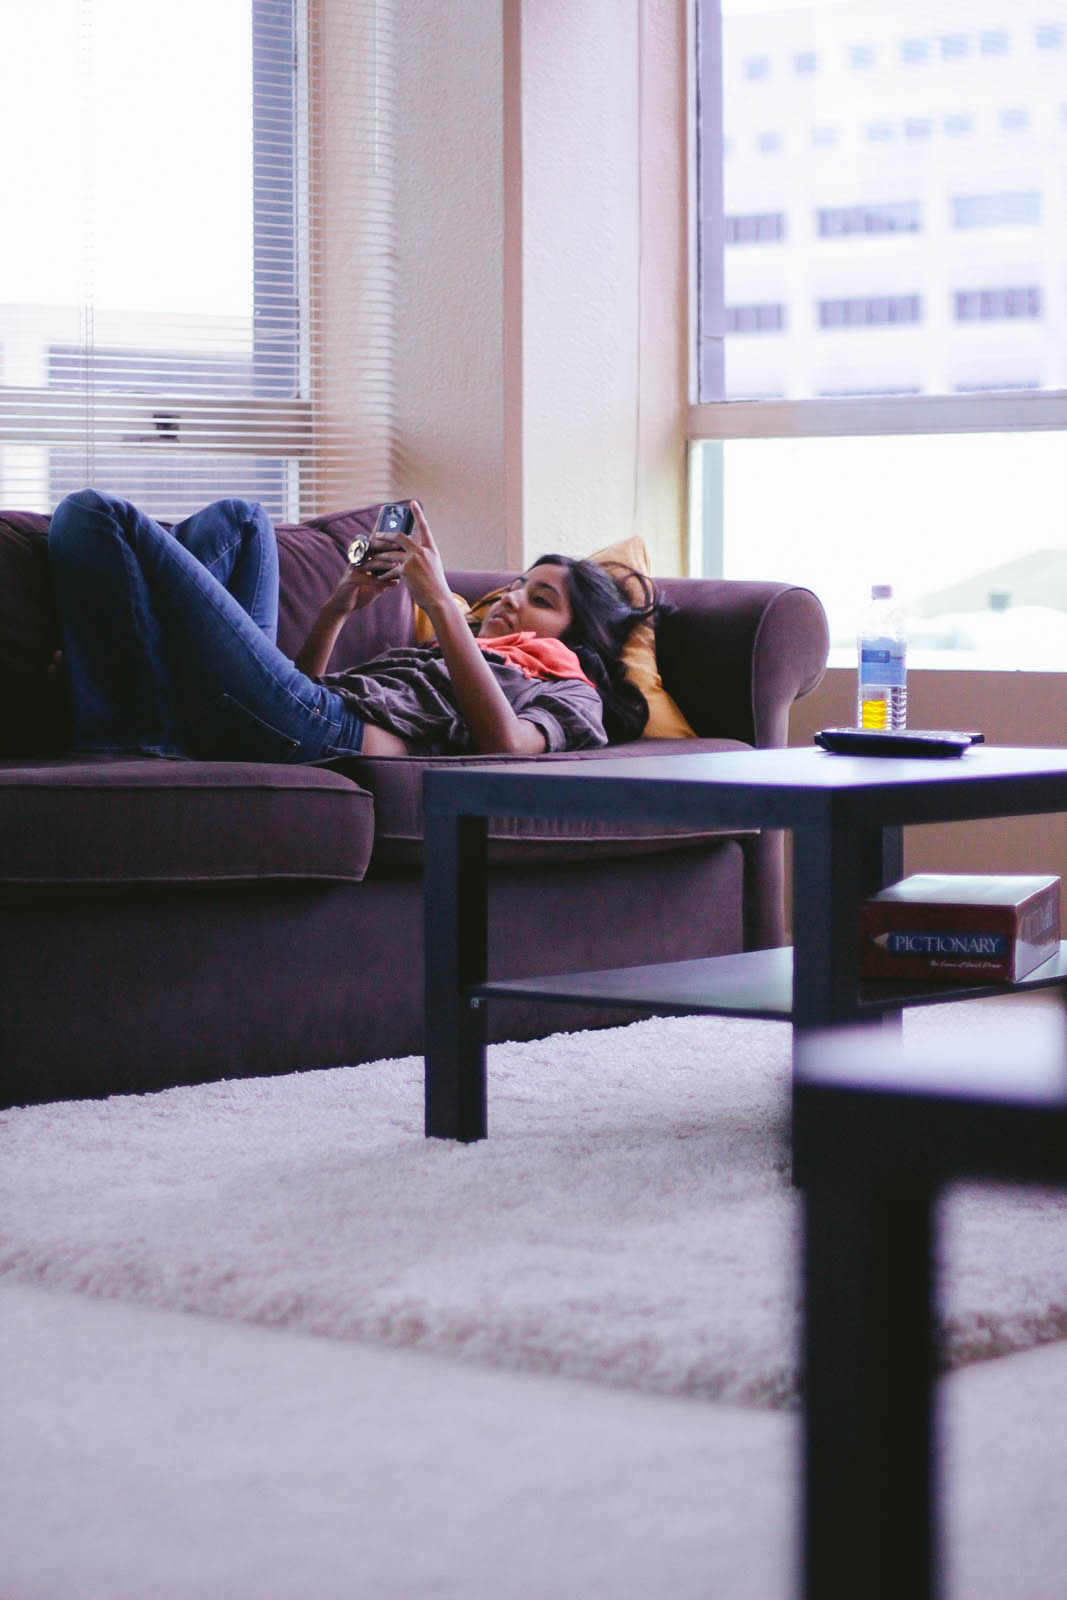

So I spent the weekend in Austin for my friend’s graduation and took quite a few photos while I was down there. I am so lucky that my friend’s apartment had gorgeous lighting because it was cold and rainy all through the weekend and I had to take most of my shots indoors. I’ll have to go back and get some shots of the capital, too, because they live ridiculously close… as in, this is what I saw when I looked out the window:

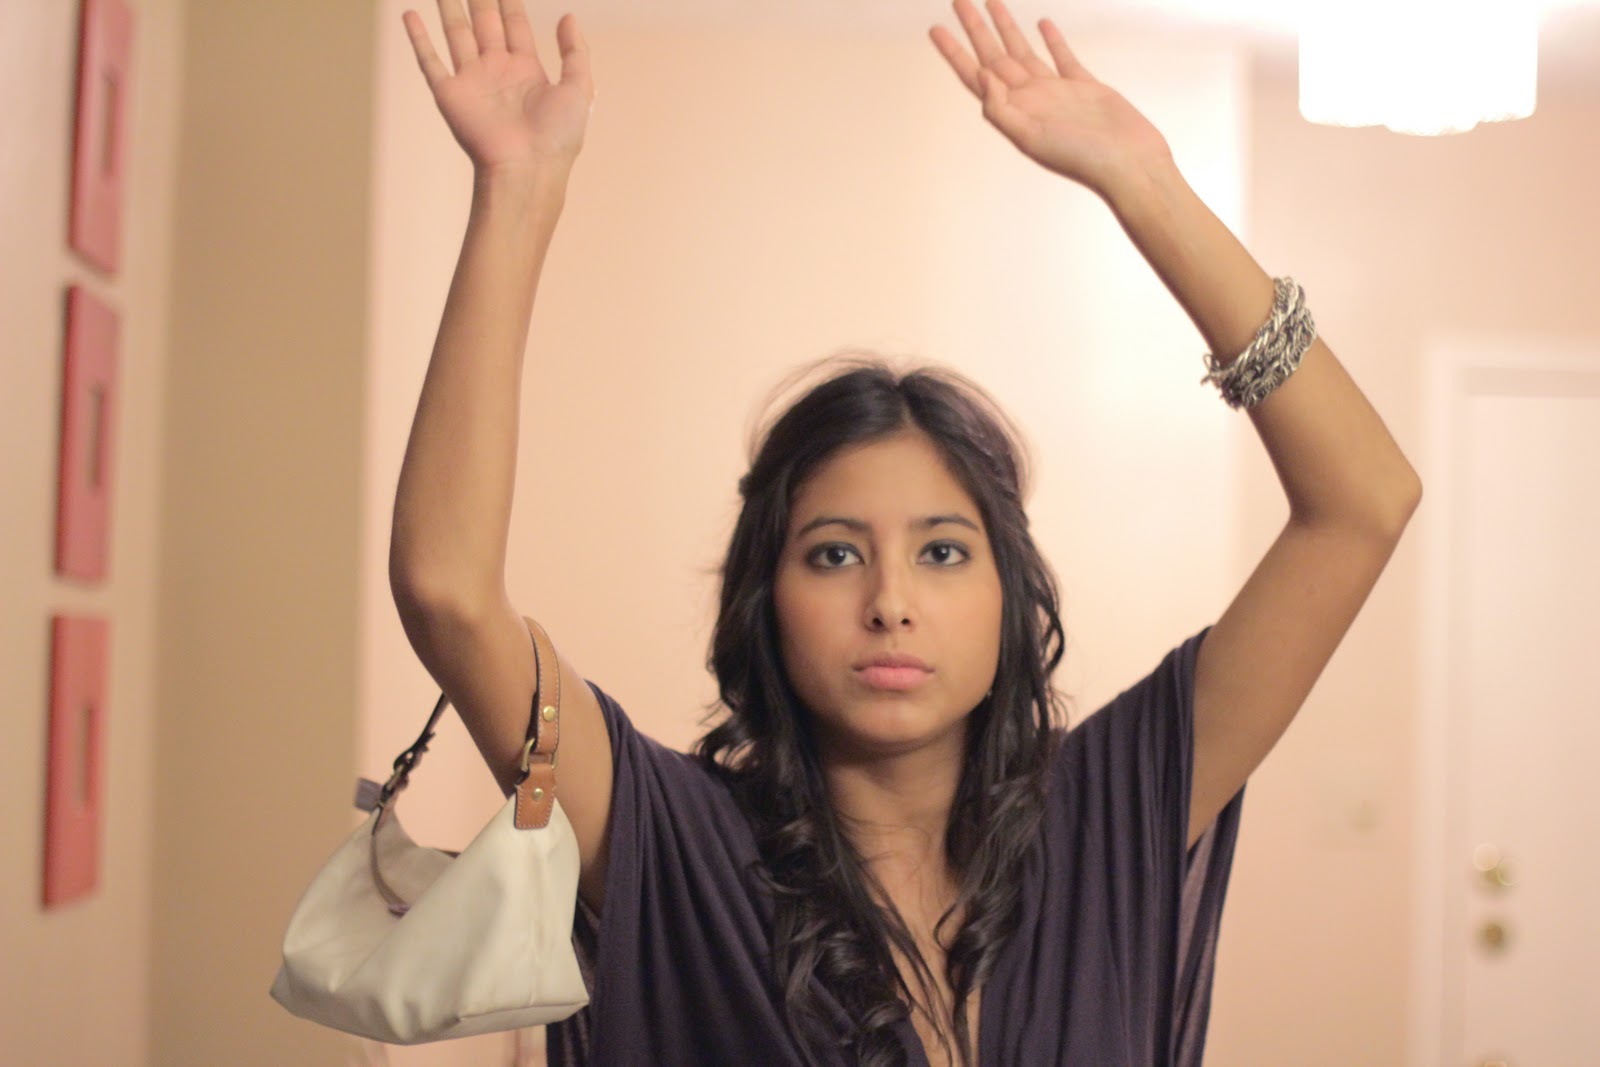
Apart from the insane blisters I got on my feet from walking around so much, it was really fun. But isn’t seeing old friends always fun? Plus I had the pleasure of seeing my friend graduate. Ridiculous! I’m starting to feel a little old. Anyway, something interesting I realized while being an annoying little shutterbug was that a recent filter I downloaded to use for videos, was accidentally used when I switched back to taking photos. It’s by Technicolor and it’s called Cinestyle. I use it for videos that I plan on color correcting because it allows me to push the image further in terms of contrast, brightness, color tone, etc. It’s especially handy if you shoot a lot of low-light videos like I do.

So, after shooting some video I switched back to photo mode and it took the picture with the filter on. This is what I got! The one on the top is straight out of the camera; with the cinestyle filter. The bottom one is after I’ve edited it. I discovered that, just like with video, you can push the color boundaries more than usual and the result is richer colors and more detail in the darker areas of the photo. I can’t say if it’s the best option for every situation, but it’s nice to know it’s there!
You can download it free from the Technicolor website HERE.
Hope this was helpful!